EPIC.png

This Is Epic

A curation of our design ideas and inspirations for houses in Goa, contemporary art and architecture.


Posts tagged Locavore
Sustainable Architecture - Building a Reed Bed System for Wastewater Management


In this IG Live, we speak to Dr. Ajit Gokhale, the founder of Natural Solutions, India to discuss ‘Building Reed-bed system for Wastewater Management’.
Over our conversation, we get into details about the components of a Reed bed system, how the water purification is carried out, and the right methods of implementation. We also debunk common misconceptions about reed beds such as odor and maintenance requirements. Finally, we speak about the different types of flowering and fruiting plants that can be used for reed bed systems in Goa and along the Western Ghats.

Natural Solutions aims to spread environmental literacy and offers sustainable solutions for Urban as well as Rural Problems of water scarcity, Solid Waste Management, and wastewater treatment. Here are some key takeaways from our conversation.

Debunked myths about reed-bed systems

  • A reed bed system does not smell if designed correctly. The simple precaution of introducing the inlet pipe at the bottom of the reed bed and not the top of the ensures that no foul smell is emanated.

  • A reed bed does not have to be designed in a segregated area. It can very much designed as part of the landscape to be a walkable, usable space that can be accessed regularly.

  • A reed bed can be used to effectively purify not just greywater but also black water and industrial wastewater when implemented correctly. It does not require significant additional maintenance.

Maintaining a reed-bed system

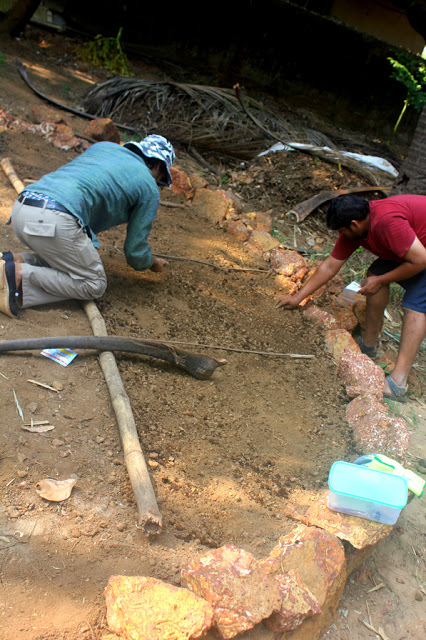
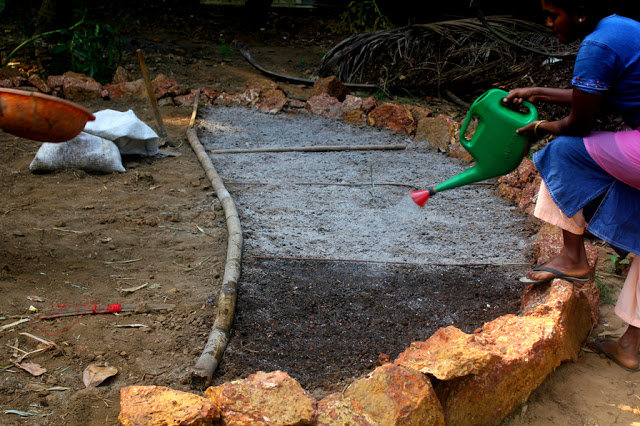
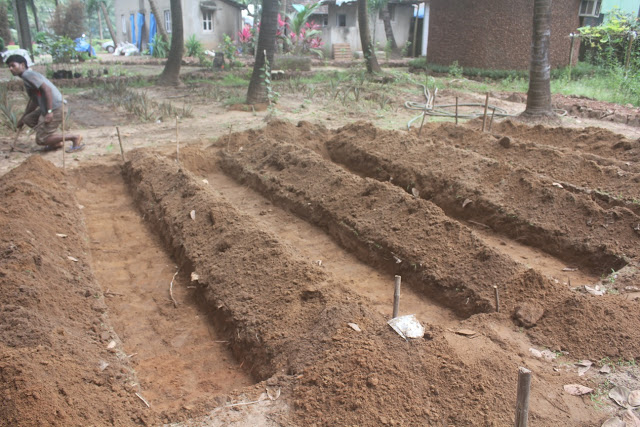
  • A reed bed system typically consists of two parts - a sedimentation system (a septic tank/ an anaerobic digester/ Jalrakshak) and a filtration system (the reed bed itself). The entire system requires very little external care or maintenance.

  • As with any common drainage or waste treatment system, the septic tank/ anaerobic digester/ Jalrakshak has to be cleaned occasionally.

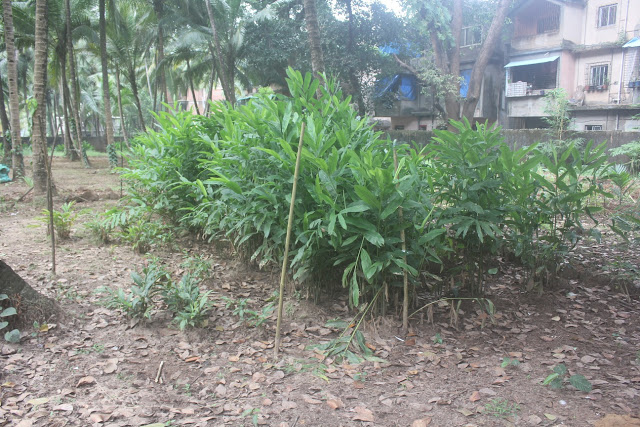
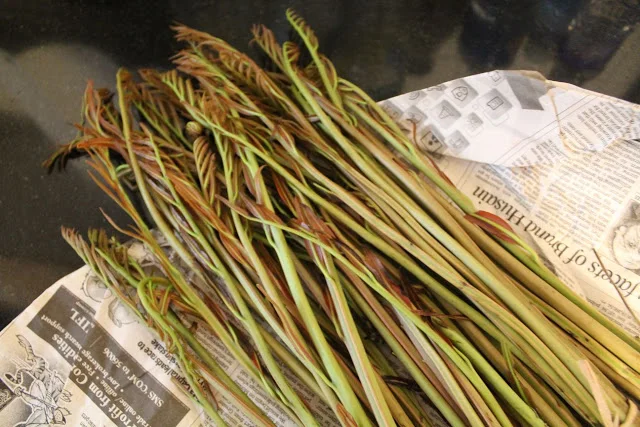
  • The reed bed itself does not require any maintenance. The plants can be trimmed for aesthetic value but it is not necessary. Trimming does not hamper the reed bed system as long as it is done as per a pruning schedule. Care has to be taken that the base of the plants are intact.

Benefits of a reed-bed system

  • A reed bed system is a one-time investment with lifelong benefits. It is extremely low maintenance in the long run.

  • Depending on the microclimate, the reed bed can purify every 1L of impure water to create 0.7 to 0.9L of filtered water that can be reused.

  • The filtered water can be reused for irrigation & gardening, washing cars, and for flushing.

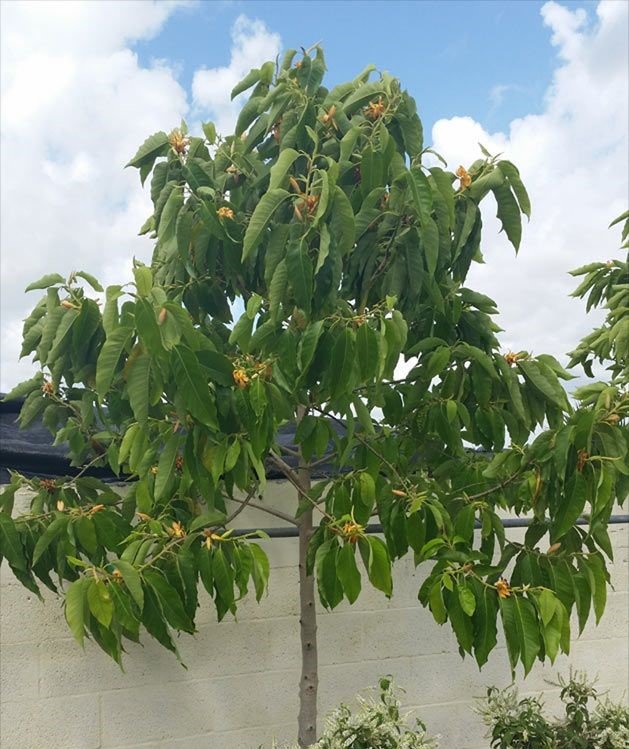
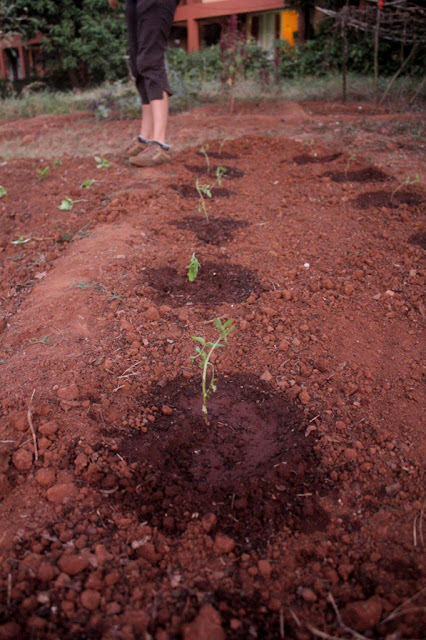
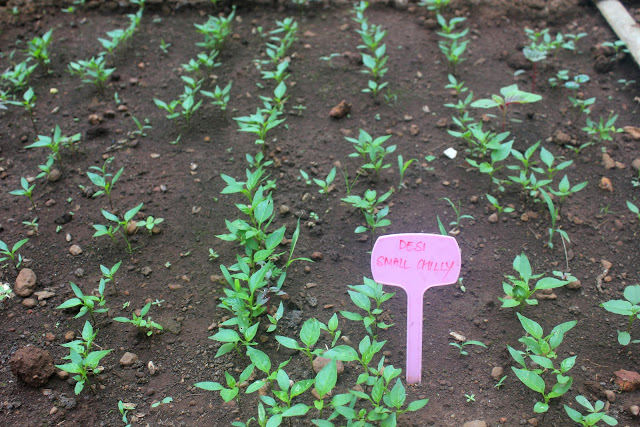
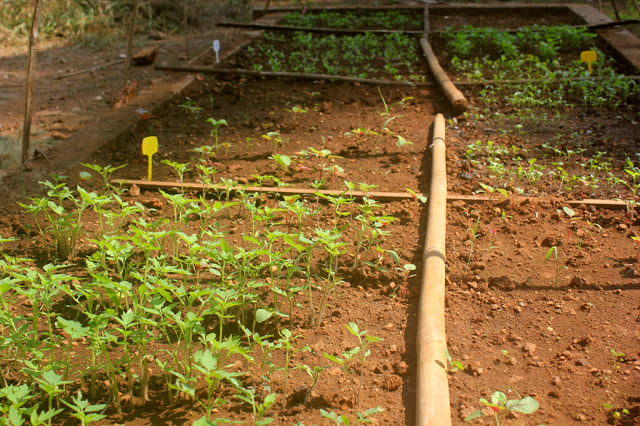
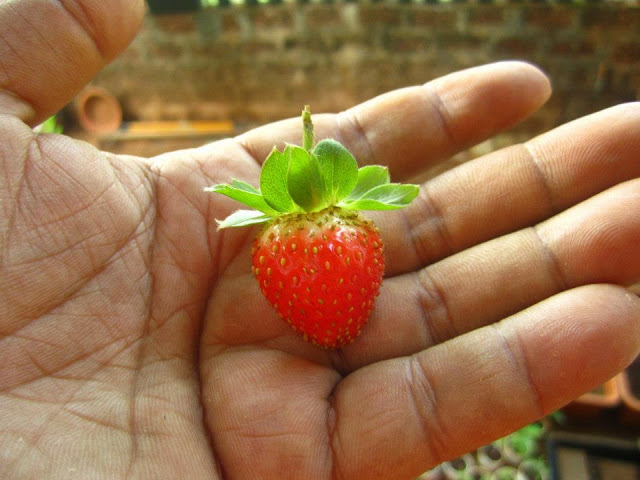
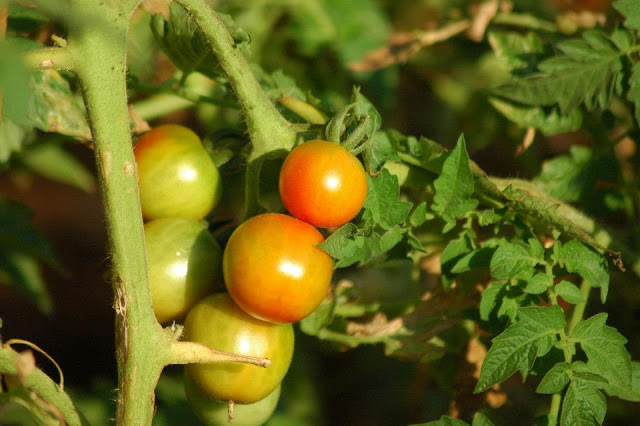
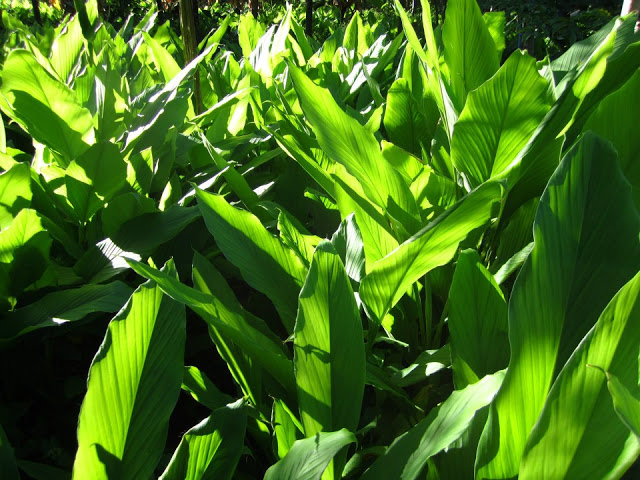
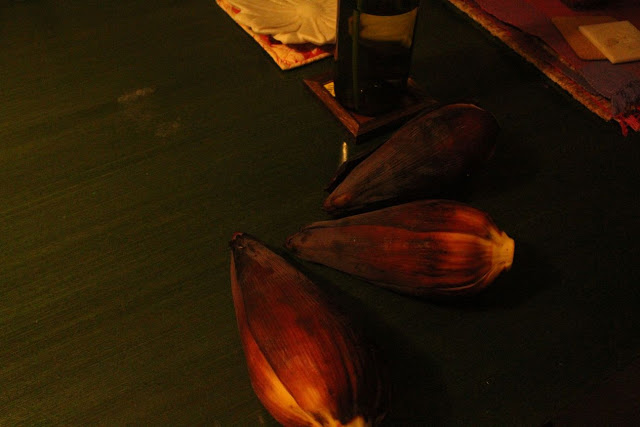
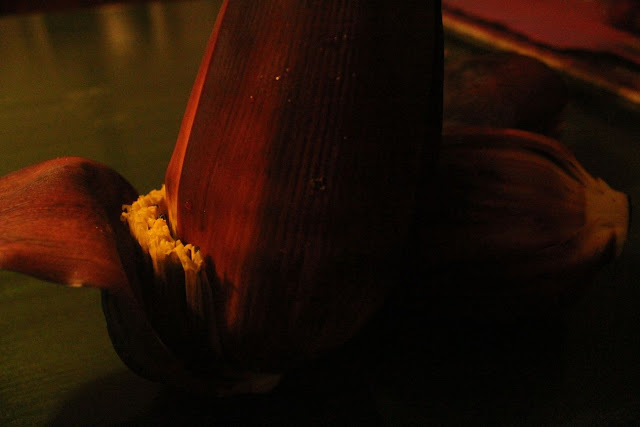
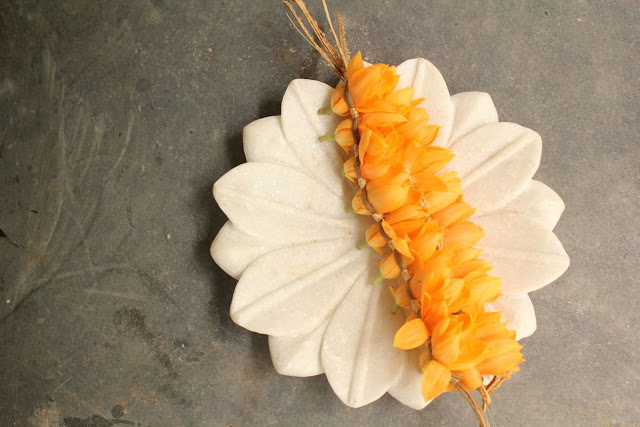
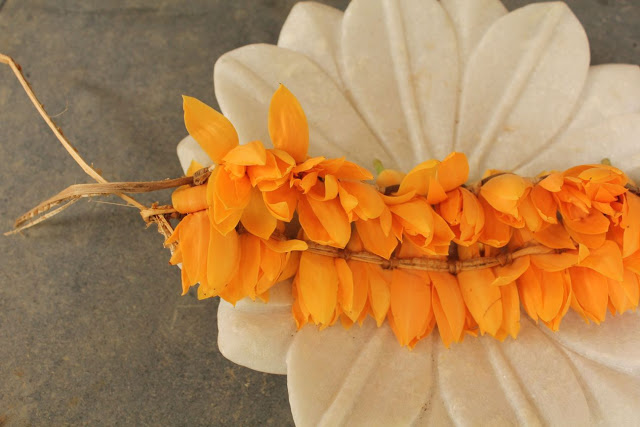
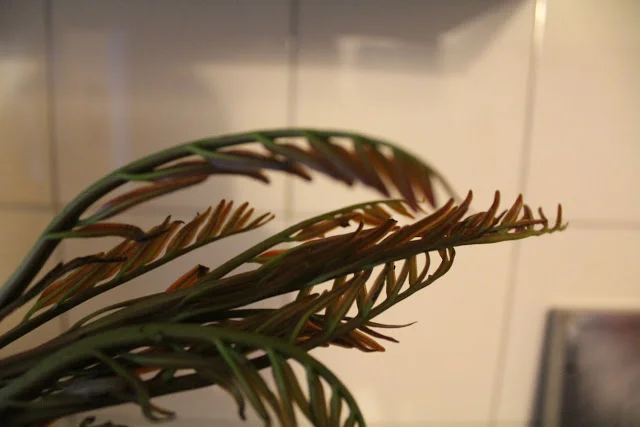
  • The reed bed can be integrated as an accessible part of the landscape of the house with flowering and fruiting plants and trees that become home to local biodiversity.

Reed beds are sustainable, scalable, cost-effective ecologically engineered systems that can effectively purify wastewater. They are easy to maintain and can be designed into the landscape irrespective of the project size or typology.


#3 Transplanting @Yogi Farms

Cherry tomato saplings in the nursery 

Step 3 after planting the nurseries is to plan the farm for final planting. What plant goes where depends on quality of soil, availability of water and (very importantly) amount of sun. I am told that root vegetables do very well is sandy soil, and leafy vegetables and herbs will thrive even in partial sun whereas most other vegetables like tomatoes, eggplant require full sun. 

Since Yogi Farms is an organic farm, they try to reduce the use of active pest control. One effective strategy according to Karan is to plan to grow different plants in adjacent rows rather than have a large patch of the same type of plant or vegetable. Karan explains that this strategy confuses the pests (as I guess different pests like specific plants/ veges). Plus, he also says that if one pest does find his way to his favorite plant, then that means that he stays away from the others surrounding it as they are of a different variety (which implies that the infestation is controlled). At Yogi farm, they typically plant in rows of 7 types consisting of gourds, beans, leafy, fruity, root, cole, and herbs. These rows are successively repeated over the area of the farm.

Saplings are generally ready for planting within 20-25 days of seeding the nursery. Karan and Yogita have developed a method of hardening the saplings before transplanting so that the transplantation is successful and the delicate saplings don't die from the shock of being removed and replanted. One rule is to transplant only in the evening which ensures minimal moisture loss during the first hours of transplant. They also begin to reduce the amount of water given to the sapling from a week before it is to be moved. The amount of water is slowly reduced such that on the day before the transplant the sapling is not watered at all. Karan says that this kicks in the survival spirit in the saplings and they can endure the move better :)

Before transplanting, the soil beds need to be prepared. In general, the beds are raised (here is why). At Yogi Farms, they typically maintain 2-3' wide planting beds that have walking paths on both sides. The farmers ensure the quality of soil by mixing with compost and removing any big stones. Each sapling in planted with at least a foot in between so they have enough room to grow. 

Just before transplanting, the saplings are kept in water that is mixed with Trichoderma, a type of good fungus for sapling roots that keeps away the bad fungus.

To transplant:

1. See Yogita preparing the bed by removing stones and leveling the earth. (Yes, those are giant gourds in the background).

Close up of the giant gourds

2. Mark little pits a foot apart for the saplings to be planted.

3. Select the strongest saplings that have been soaked in water solution with Trichoderma, Stick the saplings in pits and create little mounds of mud around.

4. Water generously and mulch around the sapling to protect moisture and also the Trichoderma fungus.

Most vegetables are ready for harvest within 40-50 days of transplant. We will see how these babies grow and bear bright red tomatoes !!

Read more on Transplanting on Yogi Farm's website, 

http://www.yogifarms.com/2013/01/hardening-saplings-for-transplanting/

Brave little saplings newly transplanted ...

#2: Planting nurseries @Yogi Farms

Nursery for 'Desi Small Chilly' variety at Pinto Bhat

Following our updates on the winter planting season at Yogi Farms, the stage 2 is that of Planting Nurseries. Yogi Farms is experimenting organic farming on a couple of farms this year. The farm that we will be documenting is owned by Christabel Pinto and Jose Pinto and called 'Pinto Bhat' in Santa Cruz near Panjim in Goa.

A planted nursery for cherry tomatoes

In the previous first update in this series, we had written about planning and preparing the farm for a planting cycle. The second stage in the process is to plant nurseries. We spent one morning preparing nurseries for some broccoli, few types of lettuce and rocket. Below are pictures with the steps:

Step 1: 

Allocate an appropriate area for a nursery. Typically nurseries are created in raised beds or in store bought nursery trays. Divide the area into sections of approximately 3' X 3'.

Example of a raised nursery bed with divisions for different varieties

Step 2:

 To prepare the soil, loosen the soil using a trowel,  remove large stones, and mix the soil with compost. (We used approximately half kg for 5 sq.m. area)

Removing large stones after loosening the soil and mixing compost

Step 3: 

Create little seed beds using a stick or your hands. Each bed in about an inch or inch and a half in depth.

Step 4: 

Sprinkle the seeds. (There was little technical guideline to this step but I felt that it was similar to sprinkling salt.) Then lightly cover the seed beds back with mud such that the seeds only have a couple of grains of mud on top. The idea is to protect the seeds but at the same time not bury it too deep that the young sapling has trouble sprouting out.

Seed beds ready for planting

Step 5:

 Sprinkle ash on top of the seed beds to protect it from ants. 

Sprinkling ash on the seed beds to protect against ants

Step 6:

 Sprinkle water generously daily.

Watering the seed beds

Young saplings are typically ready within 21-25 days of being planted in the nursery. At this point they are transplanted to the final field beds. 

At Yogi Farms, Karan and Yogita are very meticulous about noting the type of seed and date of sowing the seeds in the nursery. This allows them to plan ahead for transplanting as well as helps them keep a record of what varieties worked well in the season and what didn't. They use this data to tweak for the next season. They may try getting seeds from other sources, try planting in more or less shade, etc, etc... 

Another tip was that is you see moss growing in the seed beds then that is a sign that the beds are over-watered.

Find Yogi Farms on the web and on Facebook

Look out for Stage 3: Transplanting to final beds.

Organic farming @Yogi Farms

Strawberry in Karan Manral's palm. Part of Yogi Farm's Top 50 produce from last year

There is little that tastes better than fresh seasonal organic produce.. After moving to Goa, I was excited about having access to fresh local produce but it was fairly clear that this produce was far from being organic. While shopping at local markets, I was also determined to grow vegetables in my own garden. All I wanted was some eggplant, some okra, herbs, lemons and bright red tomatoes... But maybe because our east-facing garden gets little sun, or the sub-soil is rocky, or maybe I just didn't talk to the plants enough.. all my attempts have been so far unsuccessful. To remedy this, I have attended gardening workshops, bought seeds from several sources and taken tips from a neighbor who has converted his garden into a mini-farm…but nothing has worked...

I had almost given up when on a recent visit to California, driving through the countryside with endless farms producing lovely sweet organic produce gave me an extra push to pursue this passion. I realized that if I can't grow in Goa then it is definitely not going to happen anywhere else.. So I reached out to the local experts, Karan Manral and Yogita Mehra, who together have been experimenting with organic farming in Goa for the last 3 years. Last year, the couple started Yogi Farms at a 800 sq.m.plot where they experimented with growing various types of vegetables organically. The plan for me is to visit their farm this season at key stages so I can pick up a little on farming techniques, ask questions, stay inspired and absorb all the positive energy from organic farming on their farm !

Succulent tomatoes, part of Yogi Farm's Top 50 produce from last year

My first visit was in early October, when they were getting ready for the season's planting. This year, Yogi Farm is working on a large farm in Taleigao near Panjim in Goa. One half of it is like an open field where they had grown vegetables last year (we will call it 'vegetable farm A'), whereas the second part of the farm is actually a coconut farm where they are now experimenting with various plantation crops depending on the amount of sun received on various patches (we will call it 'plantation farm B').

Beds being prepared for this season's planting among the coconut plantation

When they started last year, the plantation farm B was in a sorry state. For years, the soil had not been ploughed or used for any vegetation. What was worse was that mixed organic waste had been dumped on the soil following some bad advice. Yogi farmers chose to work the soil using a technique called 'Green manuring'. This process involved growing a couple of cycles of a combination of legumes and non-legume crops. They started with strewing seeds before the monsoon and then after allowing them to grow they ploughed the plants and seeds back into the earth. After a few cycles of this exercise, they have managed to improve the soil quality considerably and have also succeeded in bringing back the earthworms (farmer's little friends that help aerate the soil) !! More on Green Manuring on Yogi Farms website.

Turmeric plants

Galangal ! ready for harvest

Among other experiments, they will be doing a lot of cross-planting where different types of plants are grown  in close proximity to compliment each other. They are also experimenting with high-density farming, which is a way to plant a few samplings of fruit trees in close proximity. These trees are then regularly pruned to keep them shorter in height but still productive. They explained to me that this works well in urban areas where space is limited and also solves the practical problem of harvesting produce from very large and spread out trees. They explained to me that they don't really actively do any pest-control other than employing natural means. For example, I was told that planting marigolds keep a certain type of pest away (can't remember the name but will return to that in a later post).. More on pest control the organic way, read here.

What I loved were their efforts to make the farm self-sufficient. They have planted the boundary with bamboo so they can meet their bamboo needs (to build framework for creepers and fragile plants). They are even planning to get their own cows and chicken to get fresh dump that new plants thrive on.

I loved how effortlessly they plan planting cycles. They grew some plants before the monsoon to harvest seeds for the coming season. I watched with a huge smile, as Yogita and Karan walked around the farm early in morning mapping how much sun is received at various parts so they can decide what to plant where. Reminded me of architects conducting first site visits :) They have also planted some shade loving palms at the farm's boundary with roots that can be eaten such as Colocassia and Elephant's foot.

Below are some more photos from Yogi Farm's 'Top 50' produce from last year. This year promises to be even more exciting and I can't wait to be an observer absorbing as much as I can...

Find Yogi Farms on the web and on Facebook.

Photos courtesy Yogi Farms.

Eating Kelful, the banana flower

I had to buy this gorgeous flower when I saw it in the market even though I had no idea how to cook it. Regardless, the bright purple hue and the little flowers delicately placed the petals was enough reason for me to bring three of these home !

After some research online and with some local intel, my cook and I found that cooking Kelful is a long process that involves pealing the flower petal by petal and then removing the smaller flowers from within. These small flowers are super cute and are arranged like tiny bananas (as they would eventually turn into bananas). The Kelful bhaji is made with these flowers. From the flower, two different parts are removed as they are bitter and not eaten. One is the long dark color stem inside the flower and second is a part of the small petal called 'feather'. Below is a video that describes the cleaning of Kelful.

After cleaning, some cooks recommend soaking the usable flowers in water with lemon. This prevents the delicate flowers from oxidizing in air. Next we chopped the flowers and cooked them as regular bhaji with coconut.

The flowers are very delicate, but I felt that cooking them as bhaji does not do justice to their texture. For next time, I am looking for a recipe that will require minimum or no cooking of the flower. Suggestions ?

Fragrant yellow gold ...

The flowers are 'champak' and they are blooming in Goa right now. You can find them by following their sweet smell in the markets or on road-sides where village women have strung them into gorgeous 'venis', little garlands designed to decorate one's hair.

The botanical name of the plant is 'Michelia champaca' and it is a variety of the Magnolia family. 

Interestingly, I found a

video

that shows how to string flowers together in a veni using two long threads and stringing each flower using special knots. I don't think the video explains enough for one to try this on their own but clearly shows how delicate the process is.

Click here for link

.

The strong sweet smell, vibrant yellow color and delicate shape are a treat for all senses.

And did I tell you that they smell like heaven... the entire house smells like a perfume factory !