EPIC.png

This Is Epic

A curation of our design ideas and inspirations for houses in Goa, contemporary art and architecture.


Posts tagged Local food
Mankhurad - The King of Mangoes!
 

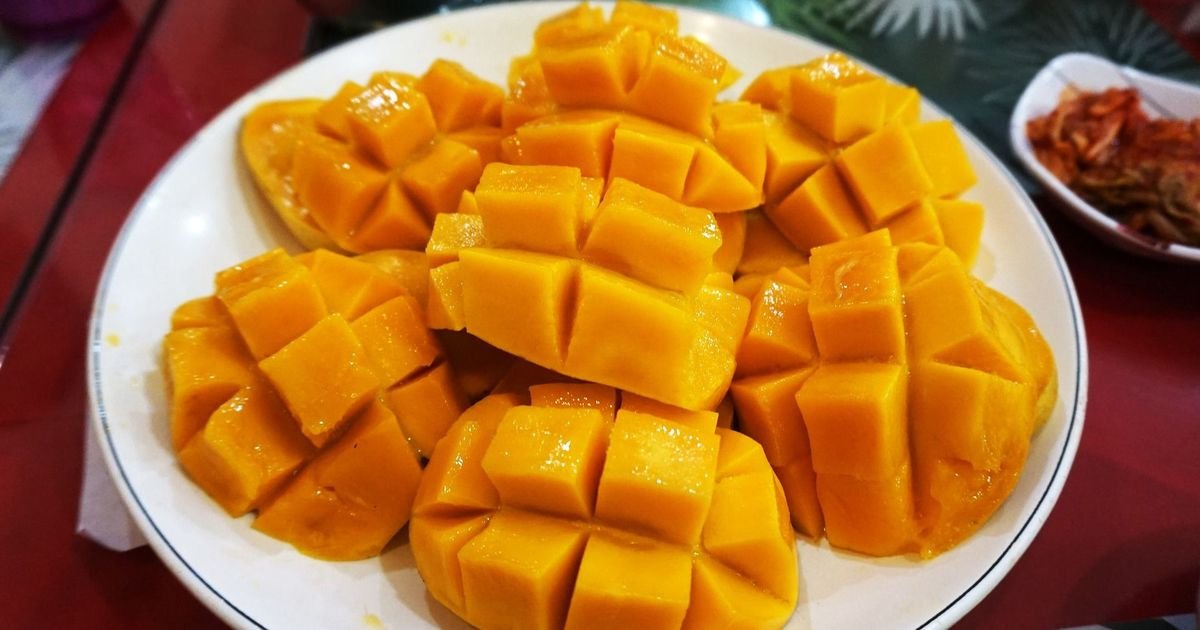
Image sourced from the internet.


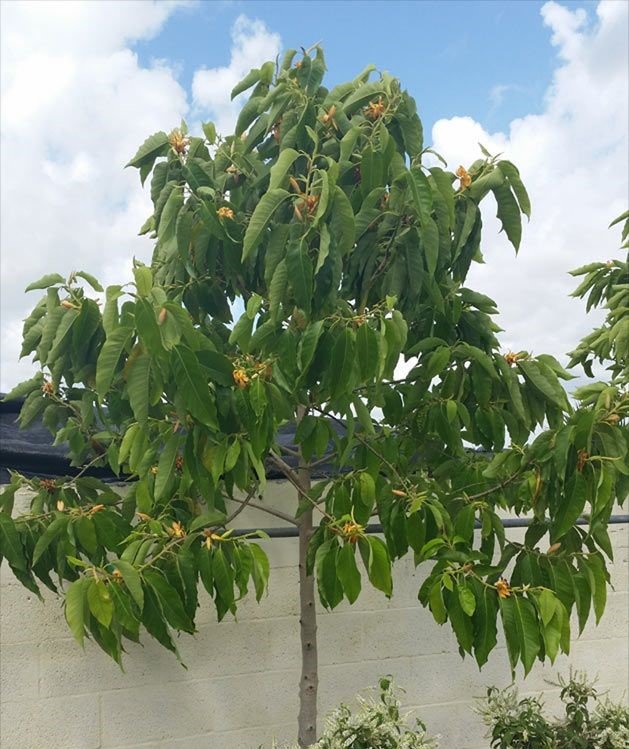
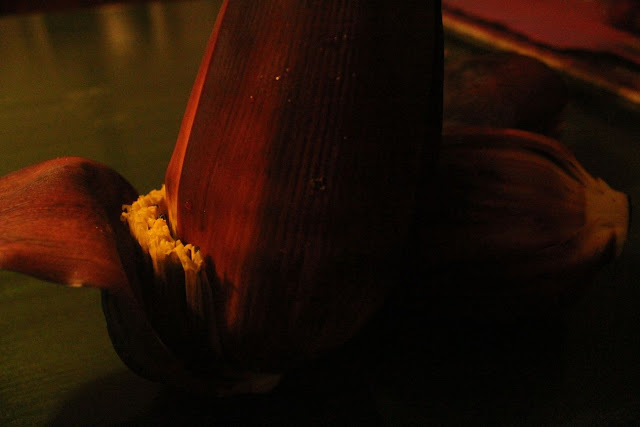
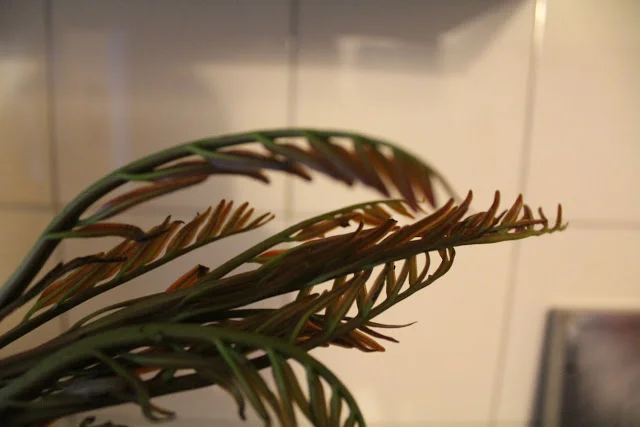
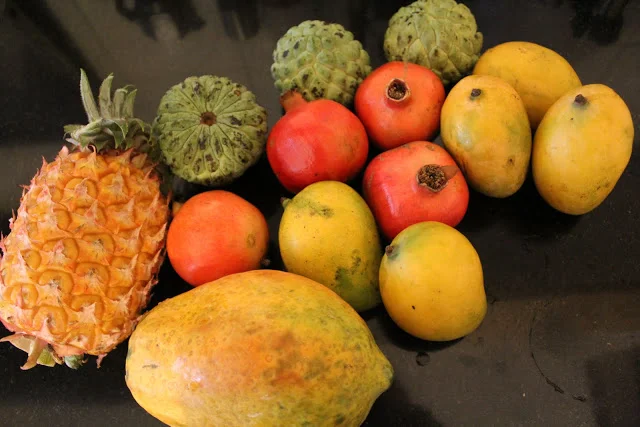
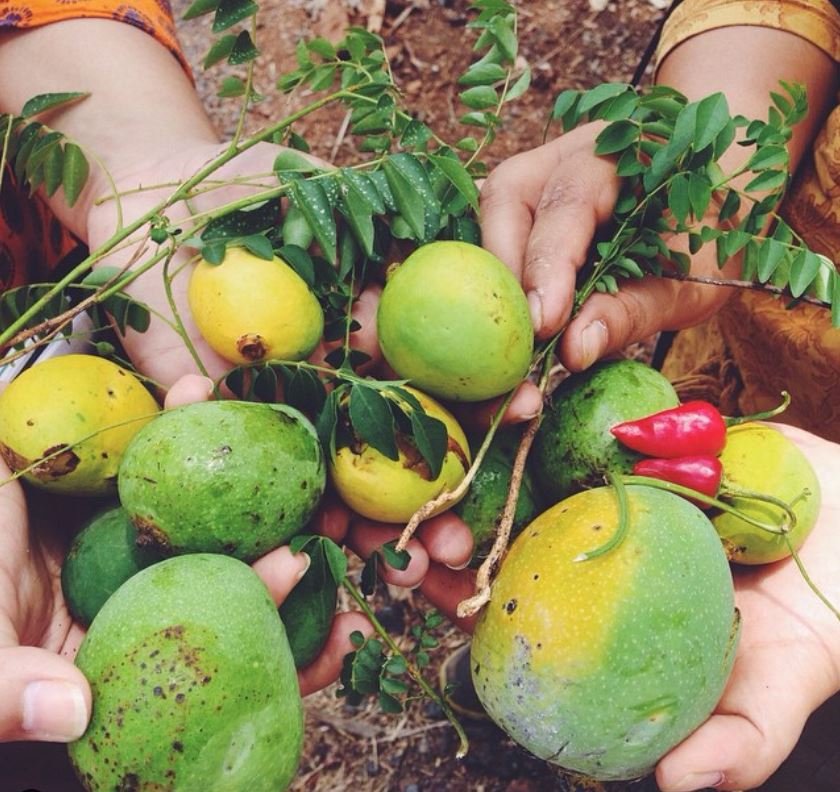
Sweet summer memories for most of us involve climbing mango trees to pluck all the fresh fruit our hands could possibly reach. The mangoes of Goa are second to none, and the state is among the producers of the highest number of varieties of this delicious summer fruit. However, one particular local Goan mango trumps all others - Mankhurad!

Also known as Goa Mankur, Kurad, Malcorado, Corado etc, Mankhurad first entered the Goan belt in the early 1600s with the Portuguese travelers. With a cultivation history that spans centuries, this Goan variety has grown to become only sweeter with time. Today, the Portuguese Malcorado, is shipped all across India for its distinct taste and finds its way to the Goan summer table as fresh fruit, as well as jams, compotes and ice creams.

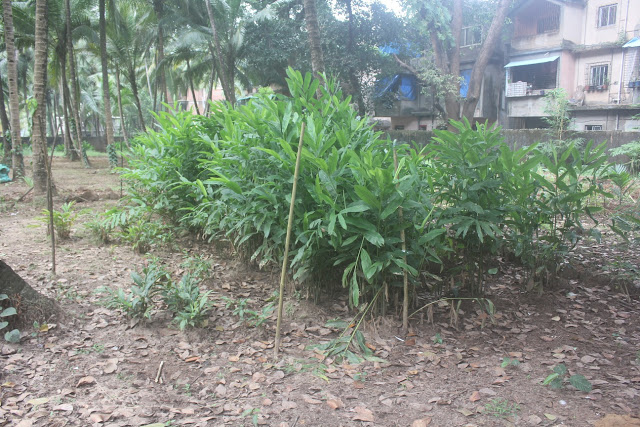
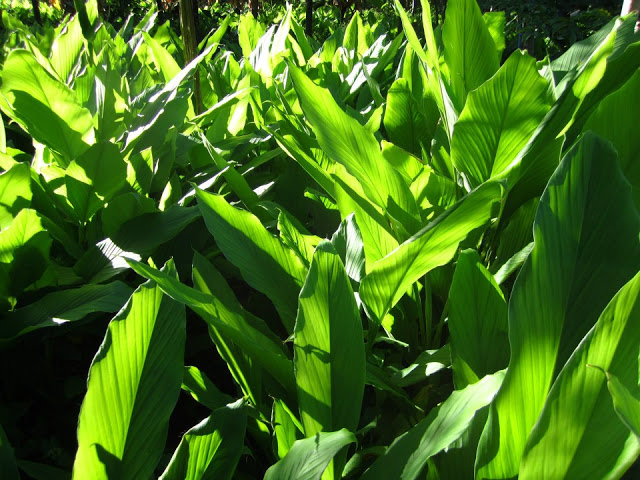
Life around the Mankhurad at Navovado

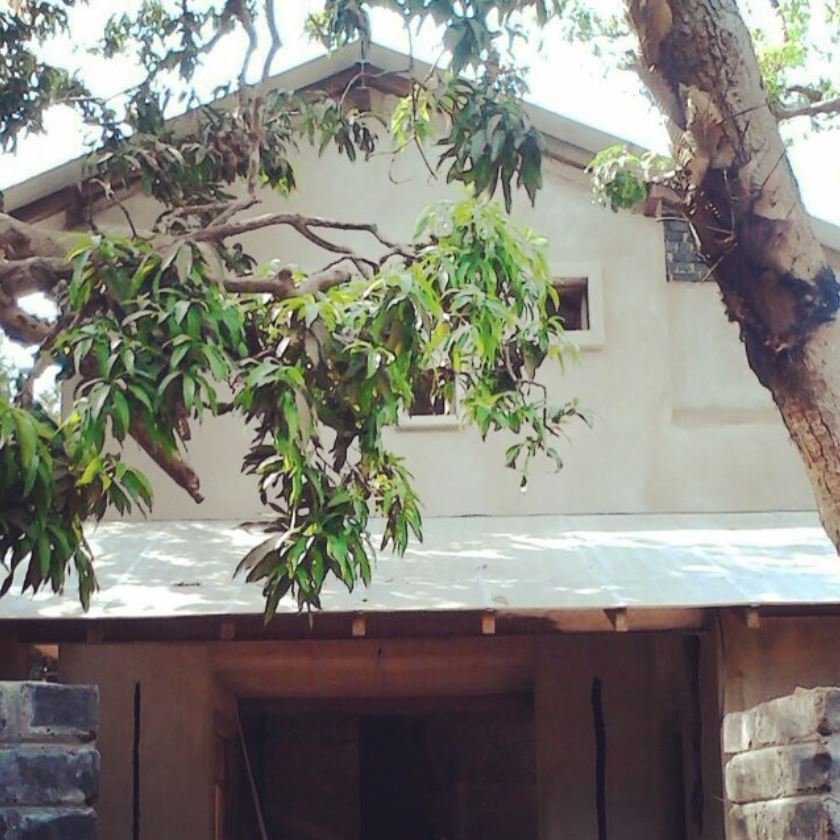
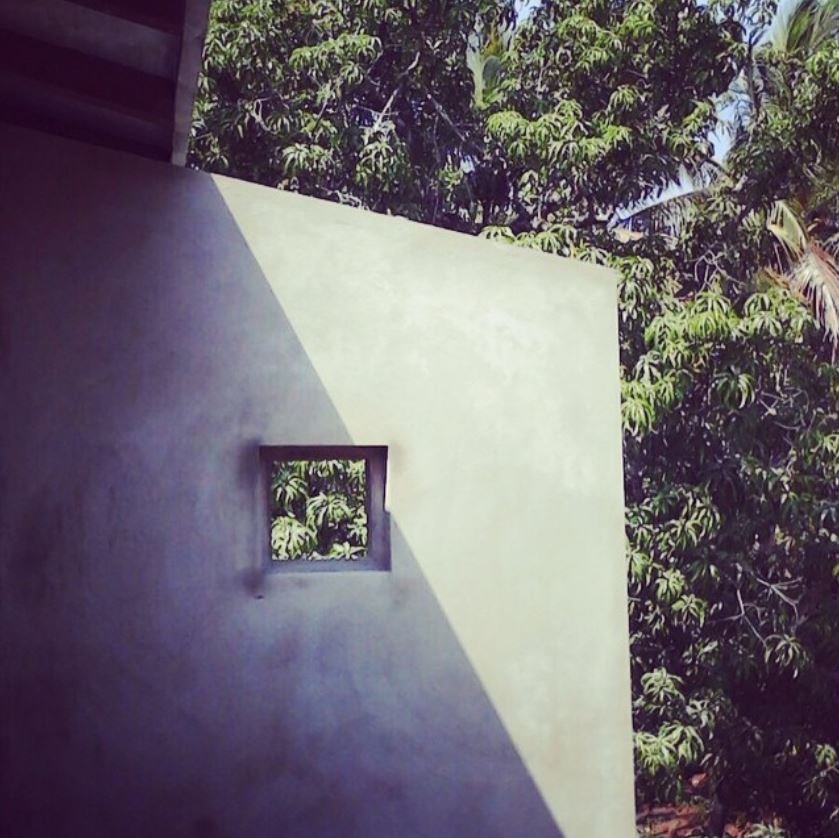
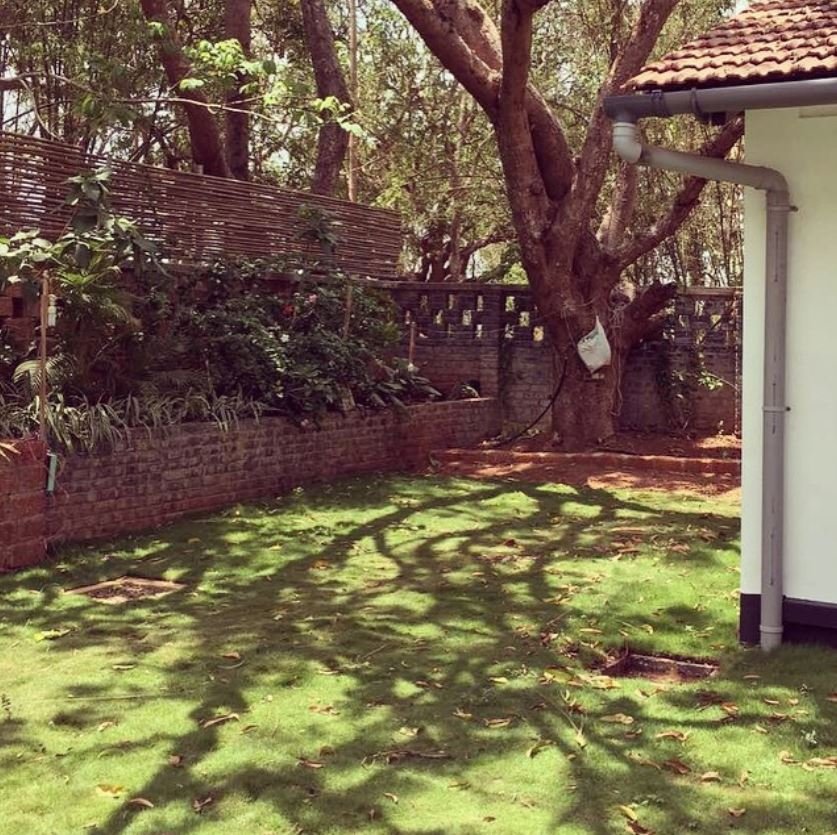
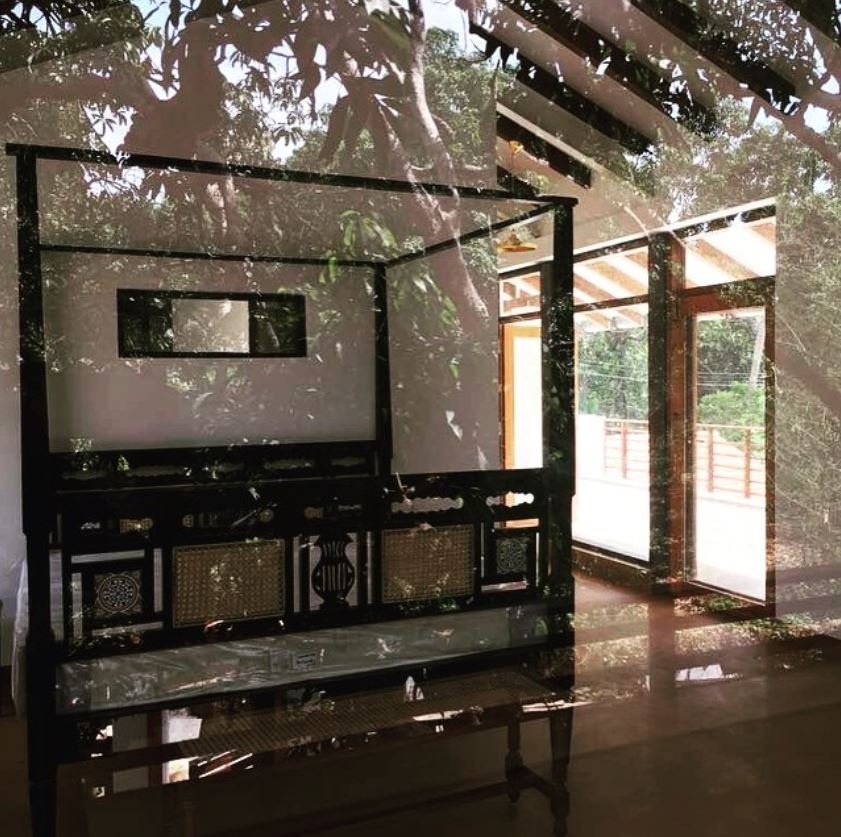
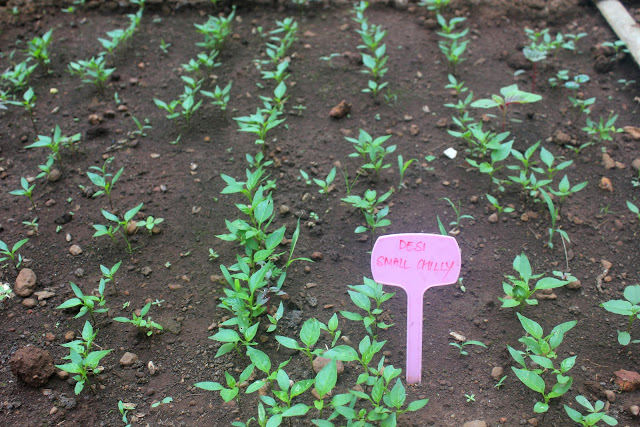
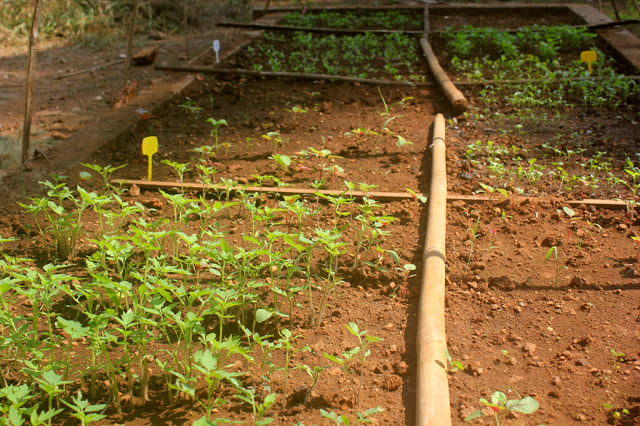
We were lucky to find five full grown, fruiting, and gloriously canopied Mankhurad trees on site when we began our design-development project Navovado. We have consciously preserved the vegetation and designed a modern Goan house around these magnificent mango trees that give us fresh, bountiful harvests in the summer and are a glorious green sight for sore eyes throughout the year.

The Goan Cashew Story - From Farm to Table

As people move from cities in search of a better quality of life, Goa is often the first choice as it offers the perfect balance of the urban and the countryside. It makes room for a simple but luxurious lifestyle that celebrates the changes in nature, vegetation, and climate throughout the year. From Kokum in the late winter to cashews and mangoes in the summer to the famous kom and pipri in the monsoon, life in Goa is very much about savouring the bounties of seasonal living.

Come summer, it is cashew season in Goa and the trees are laden with fruits in sunset colours - the cashew tree swells with ripe produce in shades of red, yellow and orange. Between late February and early April, a majority of cashew harvest is carried out. Picking days are planned and cashew trails are organised as fruit is separated from nut. The freshly collected cashew nut is then prepared for the market - split, roasted, and seasoned before it makes it way to different parts of Goa, India, and beyond. The fresh cashew fruit however is carefully preserved and fashioned into a Goan summer delicacy. As the days grow warm outside, the Goan cashew fruit makes different appearances on the table throughout the season: first Niro, then Urrak, and finally Feni.

NIRO

After the fallen cashew apples are de-seeded, the fruits are thrown into a stomp pit and finely crushed to extract the juice. Sweet, sour and slightly pungent, the juice is collected into an earthen pot. In this fresh form, the juice called Niro has a shelf life of only a few hours and therefore, it is not commonly sold as a market product even within Goa. It is only within Panaji's oldest bakery, Mr. Baker 1922, that one would find bottled Niro, packaged under strict hygienic conditions and sold seasonally between March and May.

URRAK

All images have been sourced from the internet.

Once the fresh cashew juice is collected, it is stored in large terracotta pots and buried underground to ferment for three days. This first fermentation results in a high-quality, fruity alcohol called Urrak made precious by its short shelf life that lasts only a few weeks. Found in local bars but primarily in old Goan houses, Urrak is a seasonal drink that is a matter of great Goan pride, much like Sake from Japan or Chaang from the Himachali hills. The Goans typically enjoy their Urrak as a summer afternoon cocktail - topped with fresh cold limca, a dash of fresh lemon juice, a sprinkle of salt and paprika, and a chilli dunked.

FENI

Finally, there’s the popular Feni, which finds a place among the world’s strongest liquors. Feni is the second distillation of cashew pulp after Urrak and is found year-round in the coastal state. This summer elixir is either barrel-aged or copper pot distilled and then filtered for smoothness. Today, homegrown Goan distilleries like Aani Ek give the robust Feni a flavourful twist. The distinct local branding is also found in brands like Lembarca (in the image above), which to date carries a hand sketched label crafted by iconic Goan artist Mario Miranda.


Goa is a land of incredible natural and cultural diversity.

Learn more about Goa’s famous native landscape here.

To know more about where to live in Goa, visit this blogpost.

Finally, if you’re interested in buying a house in Goa, use this checklist.


Your Guide to Goan Food

It has been more than a year since I last visited Goa and I find myself often turning to memories of fresh Goan food, a definite shortcut to paradise. Here is a collection of some incredible recipes, food documentation, a list of restaurants and some stunning art brought together by their celebration of Local Goan food.

Food reporting is at once an incredible guide to the local cuisine and a reliable way of mapping the life and times of a particular place and culture. Joanna Lobo is a freelance writer from Goa, and finds a way to magically weave her experiences of living in Goa into her stories about Goan food. Here is a collection of essays and stories from her. I particularly recommend - How I Tried (and failed) To Master The Goan Bebinca Cake.

The Goan Sorpotel. Illustration by Anna Vu.

For someone in Goa, looking for the best seafood joints, we have a list curated by LBB. The list looks at offbeat restaurants that are typically not on the tourist map, but wildly popular for their authenticity among the locals. Find the restaurants here.

On the other hand, if you wish to visit Goa from the comfort of your homes, here is something you could look at. Goya Journal does a wonderful job of mapping Goan food history and diversity. Find their articles on Goan Food here.

Great food nourishes the body and great art nourishes the soul. What could be better than them coming together? We love this visual recipe of the famous Goan Xacuti Curry, created by illustrator Shruti Prabhu. In her words: “Goan cuisine is strongly influenced by the Portuguese, since they ruled Goa till 1961. Xacuti (Chacuti in Portuguese) is spicy curry made either with chicken or crabs. The roasted spices give such a lovely aroma to this recipe. You can tone down the heat by reducing the number of chillies.”

Finally, we’d be remiss if we did not mention a spectacular food tour that is happening right now across Goa, hosted by renowned chef Thomas Zacharias. Chef T Zac as he is commonly known, is popular for his #ChefontheRoad series where he drives through different parts of the country, and does everything from culinary lessons in home kitchens, to interactions with locals in villages, to foraging for indigenous seasonal ingredients, to visits to local markets, and eating out in quaint restaurants. #COTRgoa is an extensive sensory map of quintessentially Goan culinary heritage and can be found on the chef’s Instagram as well as Twitter pages.

We wish you happy adventures on your culinary expeditions. Write to us with your favourite recommendations in the comments below.

 
#3 Transplanting @Yogi Farms

Cherry tomato saplings in the nursery 

Step 3 after planting the nurseries is to plan the farm for final planting. What plant goes where depends on quality of soil, availability of water and (very importantly) amount of sun. I am told that root vegetables do very well is sandy soil, and leafy vegetables and herbs will thrive even in partial sun whereas most other vegetables like tomatoes, eggplant require full sun. 

Since Yogi Farms is an organic farm, they try to reduce the use of active pest control. One effective strategy according to Karan is to plan to grow different plants in adjacent rows rather than have a large patch of the same type of plant or vegetable. Karan explains that this strategy confuses the pests (as I guess different pests like specific plants/ veges). Plus, he also says that if one pest does find his way to his favorite plant, then that means that he stays away from the others surrounding it as they are of a different variety (which implies that the infestation is controlled). At Yogi farm, they typically plant in rows of 7 types consisting of gourds, beans, leafy, fruity, root, cole, and herbs. These rows are successively repeated over the area of the farm.

Saplings are generally ready for planting within 20-25 days of seeding the nursery. Karan and Yogita have developed a method of hardening the saplings before transplanting so that the transplantation is successful and the delicate saplings don't die from the shock of being removed and replanted. One rule is to transplant only in the evening which ensures minimal moisture loss during the first hours of transplant. They also begin to reduce the amount of water given to the sapling from a week before it is to be moved. The amount of water is slowly reduced such that on the day before the transplant the sapling is not watered at all. Karan says that this kicks in the survival spirit in the saplings and they can endure the move better :)

Before transplanting, the soil beds need to be prepared. In general, the beds are raised (here is why). At Yogi Farms, they typically maintain 2-3' wide planting beds that have walking paths on both sides. The farmers ensure the quality of soil by mixing with compost and removing any big stones. Each sapling in planted with at least a foot in between so they have enough room to grow. 

Just before transplanting, the saplings are kept in water that is mixed with Trichoderma, a type of good fungus for sapling roots that keeps away the bad fungus.

To transplant:

1. See Yogita preparing the bed by removing stones and leveling the earth. (Yes, those are giant gourds in the background).

Close up of the giant gourds

2. Mark little pits a foot apart for the saplings to be planted.

3. Select the strongest saplings that have been soaked in water solution with Trichoderma, Stick the saplings in pits and create little mounds of mud around.

4. Water generously and mulch around the sapling to protect moisture and also the Trichoderma fungus.

Most vegetables are ready for harvest within 40-50 days of transplant. We will see how these babies grow and bear bright red tomatoes !!

Read more on Transplanting on Yogi Farm's website, 

http://www.yogifarms.com/2013/01/hardening-saplings-for-transplanting/

Brave little saplings newly transplanted ...

#2: Planting nurseries @Yogi Farms

Nursery for 'Desi Small Chilly' variety at Pinto Bhat

Following our updates on the winter planting season at Yogi Farms, the stage 2 is that of Planting Nurseries. Yogi Farms is experimenting organic farming on a couple of farms this year. The farm that we will be documenting is owned by Christabel Pinto and Jose Pinto and called 'Pinto Bhat' in Santa Cruz near Panjim in Goa.

A planted nursery for cherry tomatoes

In the previous first update in this series, we had written about planning and preparing the farm for a planting cycle. The second stage in the process is to plant nurseries. We spent one morning preparing nurseries for some broccoli, few types of lettuce and rocket. Below are pictures with the steps:

Step 1: 

Allocate an appropriate area for a nursery. Typically nurseries are created in raised beds or in store bought nursery trays. Divide the area into sections of approximately 3' X 3'.

Example of a raised nursery bed with divisions for different varieties

Step 2:

 To prepare the soil, loosen the soil using a trowel,  remove large stones, and mix the soil with compost. (We used approximately half kg for 5 sq.m. area)

Removing large stones after loosening the soil and mixing compost

Step 3: 

Create little seed beds using a stick or your hands. Each bed in about an inch or inch and a half in depth.

Step 4: 

Sprinkle the seeds. (There was little technical guideline to this step but I felt that it was similar to sprinkling salt.) Then lightly cover the seed beds back with mud such that the seeds only have a couple of grains of mud on top. The idea is to protect the seeds but at the same time not bury it too deep that the young sapling has trouble sprouting out.

Seed beds ready for planting

Step 5:

 Sprinkle ash on top of the seed beds to protect it from ants. 

Sprinkling ash on the seed beds to protect against ants

Step 6:

 Sprinkle water generously daily.

Watering the seed beds

Young saplings are typically ready within 21-25 days of being planted in the nursery. At this point they are transplanted to the final field beds. 

At Yogi Farms, Karan and Yogita are very meticulous about noting the type of seed and date of sowing the seeds in the nursery. This allows them to plan ahead for transplanting as well as helps them keep a record of what varieties worked well in the season and what didn't. They use this data to tweak for the next season. They may try getting seeds from other sources, try planting in more or less shade, etc, etc... 

Another tip was that is you see moss growing in the seed beds then that is a sign that the beds are over-watered.

Find Yogi Farms on the web and on Facebook

Look out for Stage 3: Transplanting to final beds.

Organic farming @Yogi Farms

Strawberry in Karan Manral's palm. Part of Yogi Farm's Top 50 produce from last year

There is little that tastes better than fresh seasonal organic produce.. After moving to Goa, I was excited about having access to fresh local produce but it was fairly clear that this produce was far from being organic. While shopping at local markets, I was also determined to grow vegetables in my own garden. All I wanted was some eggplant, some okra, herbs, lemons and bright red tomatoes... But maybe because our east-facing garden gets little sun, or the sub-soil is rocky, or maybe I just didn't talk to the plants enough.. all my attempts have been so far unsuccessful. To remedy this, I have attended gardening workshops, bought seeds from several sources and taken tips from a neighbor who has converted his garden into a mini-farm…but nothing has worked...

I had almost given up when on a recent visit to California, driving through the countryside with endless farms producing lovely sweet organic produce gave me an extra push to pursue this passion. I realized that if I can't grow in Goa then it is definitely not going to happen anywhere else.. So I reached out to the local experts, Karan Manral and Yogita Mehra, who together have been experimenting with organic farming in Goa for the last 3 years. Last year, the couple started Yogi Farms at a 800 sq.m.plot where they experimented with growing various types of vegetables organically. The plan for me is to visit their farm this season at key stages so I can pick up a little on farming techniques, ask questions, stay inspired and absorb all the positive energy from organic farming on their farm !

Succulent tomatoes, part of Yogi Farm's Top 50 produce from last year

My first visit was in early October, when they were getting ready for the season's planting. This year, Yogi Farm is working on a large farm in Taleigao near Panjim in Goa. One half of it is like an open field where they had grown vegetables last year (we will call it 'vegetable farm A'), whereas the second part of the farm is actually a coconut farm where they are now experimenting with various plantation crops depending on the amount of sun received on various patches (we will call it 'plantation farm B').

Beds being prepared for this season's planting among the coconut plantation

When they started last year, the plantation farm B was in a sorry state. For years, the soil had not been ploughed or used for any vegetation. What was worse was that mixed organic waste had been dumped on the soil following some bad advice. Yogi farmers chose to work the soil using a technique called 'Green manuring'. This process involved growing a couple of cycles of a combination of legumes and non-legume crops. They started with strewing seeds before the monsoon and then after allowing them to grow they ploughed the plants and seeds back into the earth. After a few cycles of this exercise, they have managed to improve the soil quality considerably and have also succeeded in bringing back the earthworms (farmer's little friends that help aerate the soil) !! More on Green Manuring on Yogi Farms website.

Turmeric plants

Galangal ! ready for harvest

Among other experiments, they will be doing a lot of cross-planting where different types of plants are grown  in close proximity to compliment each other. They are also experimenting with high-density farming, which is a way to plant a few samplings of fruit trees in close proximity. These trees are then regularly pruned to keep them shorter in height but still productive. They explained to me that this works well in urban areas where space is limited and also solves the practical problem of harvesting produce from very large and spread out trees. They explained to me that they don't really actively do any pest-control other than employing natural means. For example, I was told that planting marigolds keep a certain type of pest away (can't remember the name but will return to that in a later post).. More on pest control the organic way, read here.

What I loved were their efforts to make the farm self-sufficient. They have planted the boundary with bamboo so they can meet their bamboo needs (to build framework for creepers and fragile plants). They are even planning to get their own cows and chicken to get fresh dump that new plants thrive on.

I loved how effortlessly they plan planting cycles. They grew some plants before the monsoon to harvest seeds for the coming season. I watched with a huge smile, as Yogita and Karan walked around the farm early in morning mapping how much sun is received at various parts so they can decide what to plant where. Reminded me of architects conducting first site visits :) They have also planted some shade loving palms at the farm's boundary with roots that can be eaten such as Colocassia and Elephant's foot.

Below are some more photos from Yogi Farm's 'Top 50' produce from last year. This year promises to be even more exciting and I can't wait to be an observer absorbing as much as I can...

Find Yogi Farms on the web and on Facebook.

Photos courtesy Yogi Farms.

Eating Kelful, the banana flower

I had to buy this gorgeous flower when I saw it in the market even though I had no idea how to cook it. Regardless, the bright purple hue and the little flowers delicately placed the petals was enough reason for me to bring three of these home !

After some research online and with some local intel, my cook and I found that cooking Kelful is a long process that involves pealing the flower petal by petal and then removing the smaller flowers from within. These small flowers are super cute and are arranged like tiny bananas (as they would eventually turn into bananas). The Kelful bhaji is made with these flowers. From the flower, two different parts are removed as they are bitter and not eaten. One is the long dark color stem inside the flower and second is a part of the small petal called 'feather'. Below is a video that describes the cleaning of Kelful.

After cleaning, some cooks recommend soaking the usable flowers in water with lemon. This prevents the delicate flowers from oxidizing in air. Next we chopped the flowers and cooked them as regular bhaji with coconut.

The flowers are very delicate, but I felt that cooking them as bhaji does not do justice to their texture. For next time, I am looking for a recipe that will require minimum or no cooking of the flower. Suggestions ?